Deploy Nautobot
This section of the documentation discusses installing and configuring the Nautobot application itself.
The instructions will guide you through the following actions:
- Establish a Nautobot root directory for the application environment
- Create a
nautobotsystem account - Create a Python virtual environment (virtualenv)
- Install Nautobot and all required Python packages
- Run the database schema migrations
- Aggregate static resource files on disk
Important
PostgreSQL and Redis must have been successfully installed before continuing with deployment steps. If you haven't done that yet, please visit the guide on Installing Nautobot
Choose your NAUTOBOT_ROOT
This is where everything related to Nautobot will be installed. We're going to use this value across the documentation. You'll need to set the NAUTOBOT_ROOT environment variable to tell Nautobot where to find its files and settings.
We're also going to use this as the home directory of the nautobot user.
Tip
We have selected /opt/nautobot, but you may use any directory you choose.
$ export NAUTOBOT_ROOT=/opt/nautobot
Create the Nautobot System User
Create a system user account named nautobot. This user will own all of the Nautobot files, and the Nautobot web services will be configured to run under this account. This also creates the NAUTOBOT_ROOT directory and sets it as the home directory for the user.
$ sudo useradd --system --shell /bin/bash --create-home --home-dir $NAUTOBOT_ROOT nautobot
Create the Virtual Environment
A Python virtual environment or virtualenv is like a container for a set of Python packages. A virtualenv allows you to build environments suited to specific projects without interfering with system packages or other projects. When installed per the documentation, Nautobot uses a virtual environment in production.
We're going to create the virtualenv in our NAUTOBOT_ROOT as the nautobot user to populate the /opt/nautobot directory with a self-contained Python environment.
$ sudo -u nautobot python3 -m venv $NAUTOBOT_ROOT
Sudo to nautobot
Now that we've created the virtualenv, the remaining steps will be performed as the nautobot user.
Warning
Don't skip this step!!
It is critical to install Nautobot as the nautobot user so that we don't have to worry about fixing permissions later.
$ sudo -iu nautobot
Update the Nautobot .bashrc
After becoming nautobot, we need to set the NAUTOBOT_ROOT environment variable again for this user (since it is a fresh session as far as the system is concerned).
We want to make sure that this variable is always set.
Add this to ~/.bashrc for nautobot so that anytime you become nautobot, your NAUTOBOT_ROOT will be set automatically.
$ echo "export NAUTOBOT_ROOT=/opt/nautobot" >> ~/.bashrc
Next, reload the .bashrc file so that your NAUTOBOT_ROOT is set and display its value to verify it worked:
$ source ~/.bashrc
$ echo $NAUTOBOT_ROOT
/opt/nautobot
Understanding the Virtual Environment
Because the nautobot user was created with NAUTOBOT_ROOT set as its home directory and we had you set the shell to /bin/bash, the binary path $NAUTOBOT_ROOT/bin is automatically added to the beginning of the $PATH environment variable:
$ echo $PATH
/opt/nautobot/bin:/usr/local/sbin:/usr/local/bin:/usr/sbin:/usr/bin:/sbin:/bin:/snap/bin
Therefore, any commands executed by the nautobot user will always check $NAUTOBOT_ROOT/bin first.
Because NAUTOBOT_ROOT also contains the Python virtualenv for Nautobot, all of the commands you will execute as the nautobot user, will automatically prefer the virtualenv's commands because they come first in the $PATH.
As the nautobot user, you may use which pip3 to confirm that you are using the correct version of pip3. The path should match that of $NAUTOBOT_ROOT/bin. For example:
$ which pip3
/opt/nautobot/bin/pip3
This makes sure that the version of Python you're using, as well any dependencies that you install, remain isolated in this environment.
Prepare the Virtual Environment
Warning
Unless explicitly stated, this and all remaining steps requiring the use of pip3 or nautobot-server in this document should be performed as the nautobot user!
Hint: Use sudo -iu nautobot to become the nautobot user.
Before we install anything into the virtualenv, we want to make sure that Pip is running the latest version.
Pip is Python's package installer and is referred interchangeably as pip or pip3. For the purpose of this document, we'll deliberately be referring to it as pip3. Many common issues can be solved by running the latest version of Pip. Before continuing with installing Nautobot, upgrade Pip to its latest release.
We also want to deliberately install the wheel library which will tell Pip to always try to install wheel packages if they are available. A wheel is a pre-compiled Python package, which is quicker and safer to install because it does not require development libraries or gcc to be installed on your system just so that some more advanced Python libraries can be compiled.
$ pip3 install --upgrade pip wheel
Install Nautobot
Use Pip to install Nautobot:
$ pip3 install nautobot
Great! We have NAUTOBOT_ROOT ready for use by the nautobot user, so let's proceed to verifying the installation.
Verify your Nautobot Installation
You should now have a fancy nautobot-server command in your environment. This will be your gateway to all things Nautobot! Run it to confirm the installed version of nautobot:
$ nautobot-server --version
Configuration
Before you can use Nautobot, you'll need to configure it by telling it where your database and Redis servers can be found, among other things. This is done with the nautobot_config.py configuration file.
Initialize your configuration
Initialize a new configuration by running nautobot-server init. You may specify an alternate location and detailed instructions for this are covered in the documentation on Nautobot Configuration.
However, because we've set the NAUTOBOT_ROOT, this command will automatically create a new nautobot_config.py at the default location based on this at $NAUTOBOT_ROOT/nautobot_config.py:
$ nautobot-server init
Configuration file created at '/opt/nautobot/nautobot_config.py'
Required Settings
Your nautobot_config.py provides sane defaults for all of the configuration settings. You will inevitably need to update the settings for your environment, most notably the DATABASES setting.
Edit $NAUTOBOT_ROOT/nautobot_config.py, and head over to the documentation on Required Settings to tweak your required settings.
Important
You absolutely must update your required settings in your nautobot_config.py or Nautobot will not work.
Save your changes to your nautobot_config.py and then return here.
Optional Settings
All Python packages required by Nautobot will be installed automatically when running pip3 install nautobot.
Nautobot also supports the ability to install optional Python packages. If desired, these packages should be listed in local_requirements.txt within the NAUTOBOT_ROOT directory, such as /opt/nautobot/local_requirements.txt.
If you decide to use any Nautobot plugins, they should be listed in this file.
We will cover two examples of common optional settings below.
Configuring NAPALM
Nautobot provides built-in support for the NAPALM automation library, which allows Nautobot to fetch live data from devices and return it to a requester via its REST API. The NAPALM_USERNAME and NAPALM_PASSWORD configuration parameters define the credentials to be used when connecting to a device.
To use NAPALM, add napalm to your local_requirements.txt so that it can be installed and kept up to date:
$ echo napalm >> $NAUTOBOT_ROOT/local_requirements.txt
Remote File Storage
By default, Nautobot will use the local filesystem to store uploaded files. To use a remote filesystem, install the django-storages library and configure your desired storage backend in nautobot_config.py.
To use remote file storage, add django-storages to your local_requirements.txt so that it can be installed and kept up to date:
$ echo django-storages >> $NAUTOBOT_ROOT/local_requirements.txt
Prepare the Database
Before Nautobot can run, the database migrations must be performed to prepare the database for use. This will populate the database tables and relationships:
$ nautobot-server migrate
Create a Superuser
Nautobot does not come with any predefined user accounts. You'll need to create a administrative superuser account to be able to log into Nautobot for the first time. Specifying an email address for the user is not required, but be sure to use a very strong password.
$ nautobot-server createsuperuser
Create Static Directories
Nautobot relies upon many static files including:
git- For storing Git repositoriesjobs- For storing custom Jobsmedia- For storing uploaded images and attachments (such as device type images)static- The home for CSS, JavaScript, and images used to serve the web interface
Each of these have their own corresponding setting that defined in nautobot_config.py, but by default they will all be placed in NAUTOBOT_ROOT unless you tell Nautobot otherwise by customizing their unique variable.
The collectstatic command will create these directories if they do not exist, and in the case of the static files directory, it will also copy the appropriate files:
$ nautobot-server collectstatic
Install Local Requirements
This step is entirely optional. As indicated above, we mentioned that any extra local requirements should go into $NAUTOBOT_ROOT/local_requirements.txt.
$ pip3 install -r $NAUTOBOT_ROOT/local_requirements.txt
Check your Configuration
Nautobot leverages Django's built-in system check framework to validate the configuration to detect common problems and to provide hints for how to fix them.
Checks are ran automatically when running a development server using nautobot-server runserver, but not when running in production using WSGI.
Hint
Get into the habit of running checks before deployments!
$ nautobot-server check
Test the Application
At this point, we should be able to run Nautobot's development server for testing. We can check by starting a development instance:
$ nautobot-server runserver 0.0.0.0:8000 --insecure
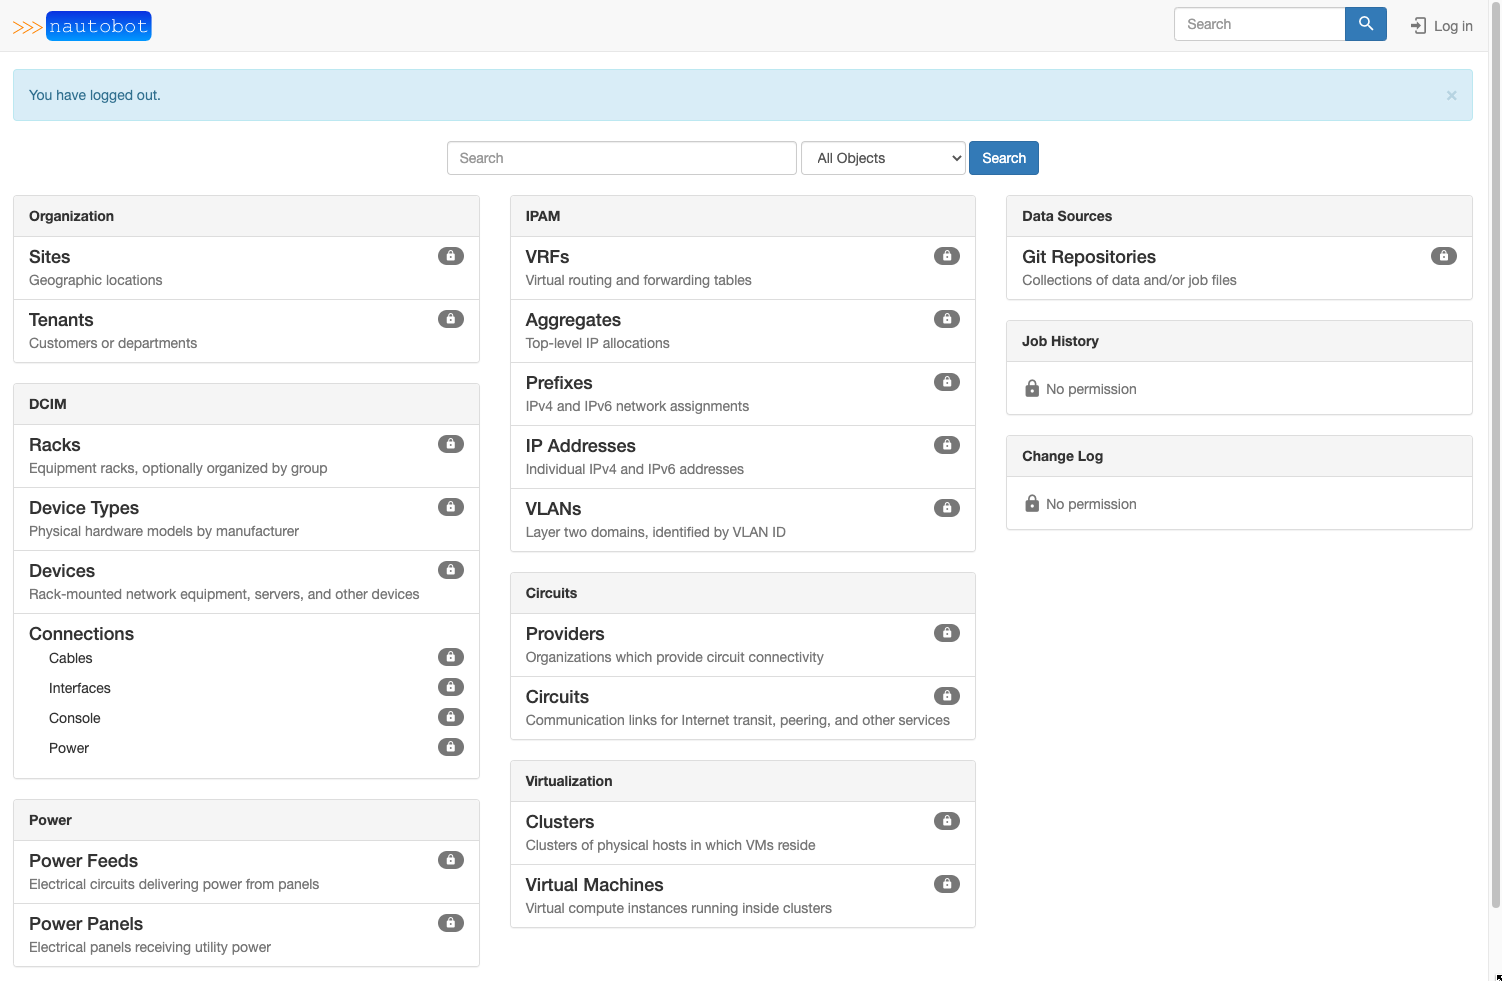
Next, connect to the name or IP of the server (as defined in ALLOWED_HOSTS) on port 8000; for example, http://127.0.0.1:8000/. You should be greeted with the Nautobot home page.
Warning
The development server is for development and testing purposes only. It is neither performant nor secure enough for production use. Do not use it in production.
Warning
If the test service does not run, or you cannot reach the Nautobot home page, something has gone wrong. Do not proceed with the rest of this guide until the installation has been corrected.
Note that the initial user interface will be locked down for non-authenticated users.
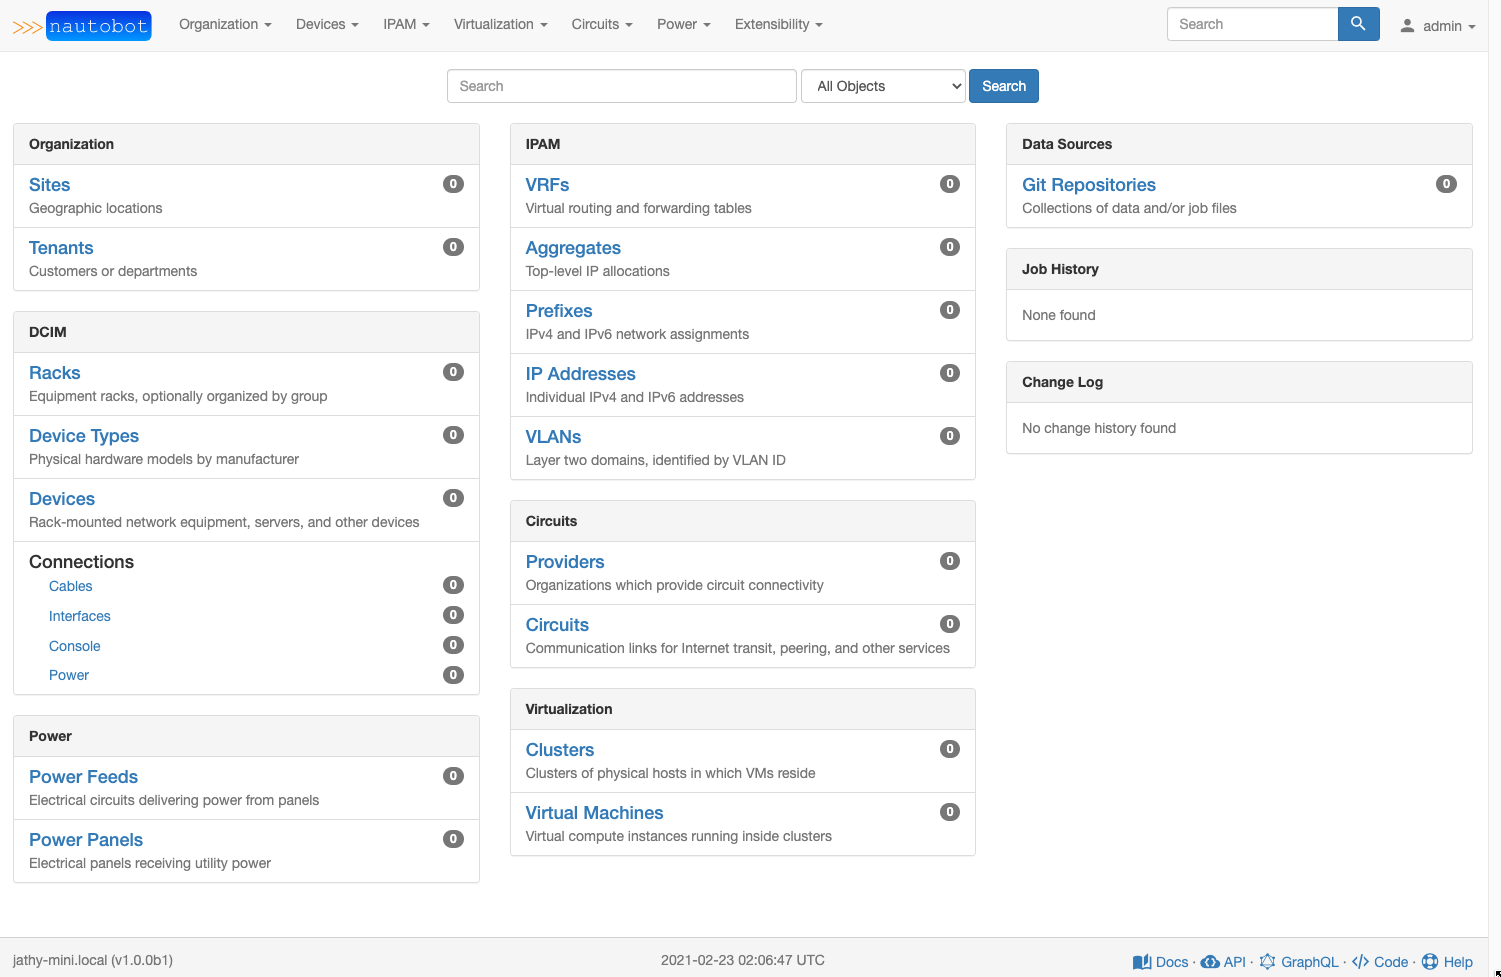
Try logging in using the superuser account we just created. Once authenticated, you'll be able to access all areas of the UI:
Type Ctrl-C to stop the development server.